10 tips for Street Photography
If you’re new to street photography, you’re soon going to learn it’s much more than taking some photos in public places. To create compelling photographs you need to have both skill and knowledge. It isn’t easy, but with practice — and patience — you’ll be able to improve your abilities and start making great street photographs.
Here are 10 street photography tips and tricks to help you step out of your comfort zone and start making great images.
1. Use a small camera
Big cameras tend to scare people and also make you more visible. There’s a big difference between holding a small compact camera and a big DSLR. Since street photography is all about trying to get the most real moments frozen in time, you want to be as invisible as possible.
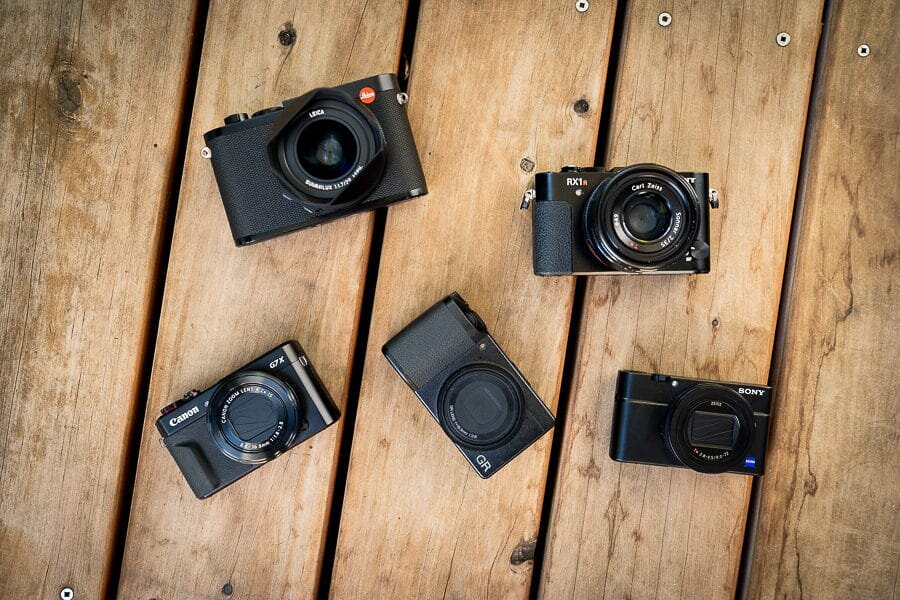
Ricoh, Fujifilm and Leica are some of the most famous option cameras for Street Photography.
2. Stop chimping
If you’ve never heard the term chimping, well it’s basically the definition of constantly looking at the screen on the back of your camera after taking a photo. This happens because you want to make sure you have everything right and in focus. But in all honesty, the moment you’re probably chimping is the moment you should be shooting more frames! Street is very unpredictable. Always try to stay in the moment and with the viewfinder on your eye until you think absolutely no more action is taking place. Obviously to ensure all goes well, it’s important you have your settings right. that leads me to point 3.

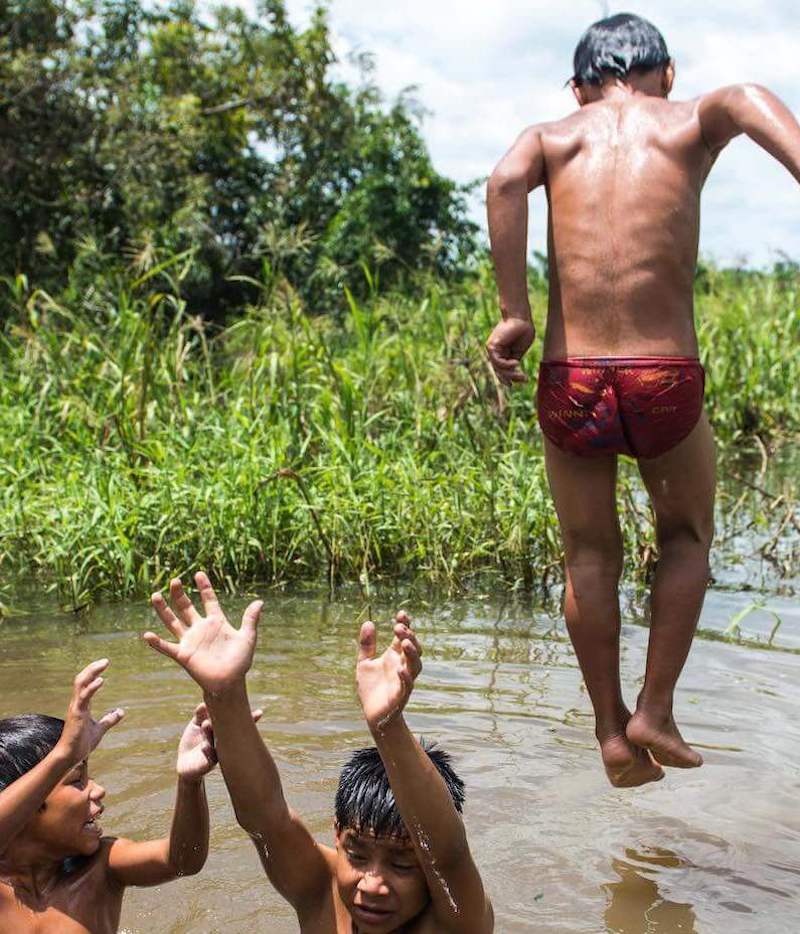
A different market in the Sacred Valley. Calca. This is out first stop during The Faces of Peru Tour
3. Set your camera for street
Having the wrong settings dialed in your camera can be the difference between grabbing or missing a shot. Make sure you have good settings for street. A good example would be a minimum shutter speed of 1/250 to ensure all is sharp and in focus and also an F-stop around F8 so you have enough depth of field to ensure all is in focus. These are only general pointers, there’s no law telling you how to shoot in the streets. You might like some blur in which case you need a slow speed, or maybe you like a very shallow depth of field in which case you’d rather shoot at F2 than F8. These are personal decisions. But no matter the way you shoot, make sure your camera is dailed in your correct settings before raising the camera to your eye
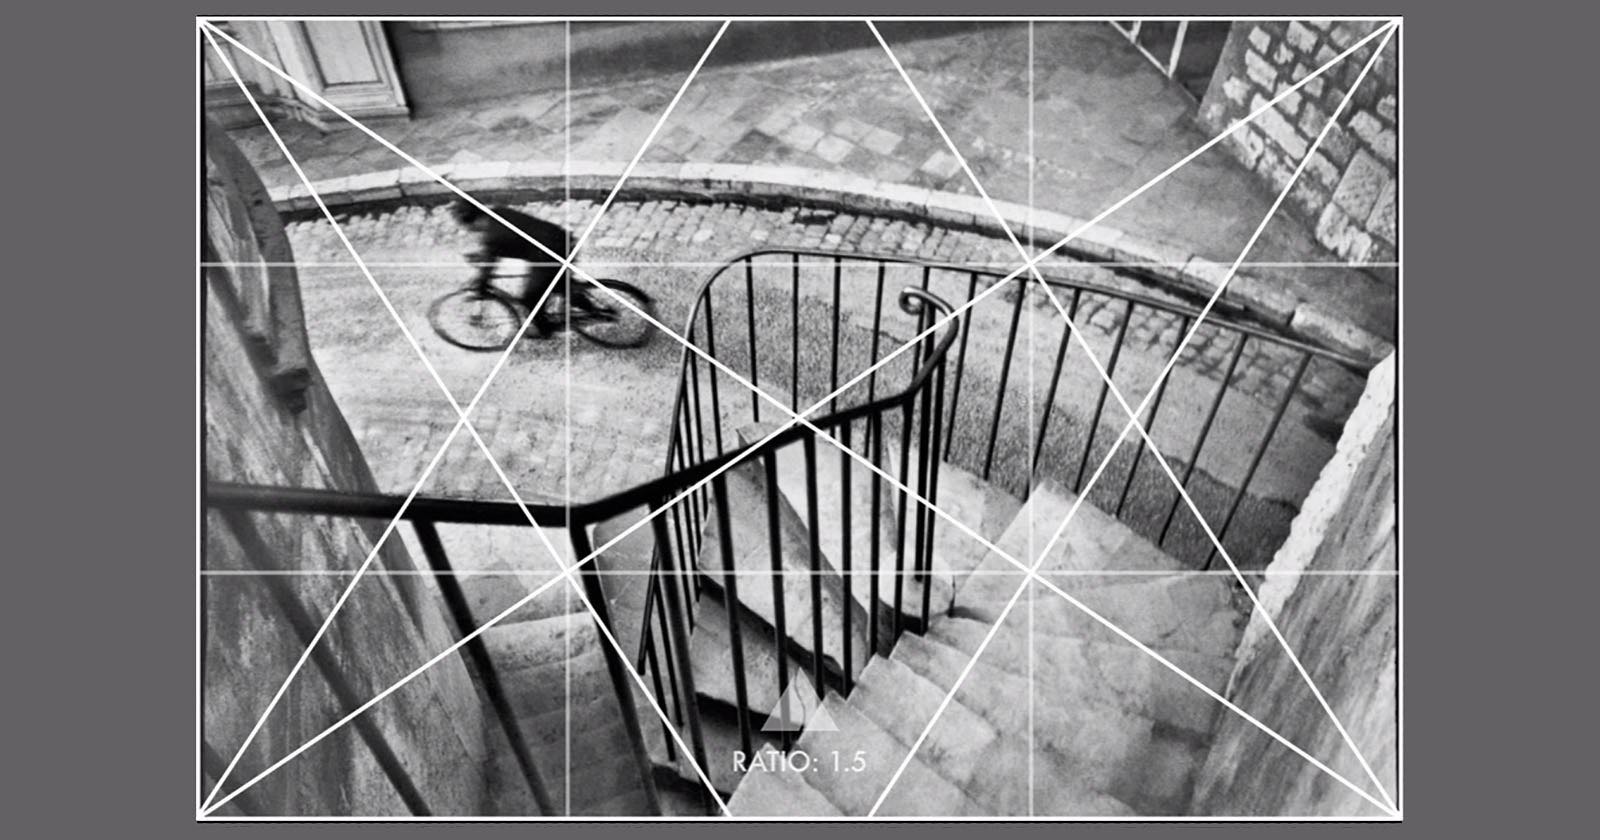
Cartier Bresson was a master of Street Photography and composition
4. Get close
This is possibly one of the hardest ones to do. But getting close is extremely important for a few reasons. The story becomes much more compelling if you’re close to your subject. It will be much easier to identify subject, what their up to, how they feel, where are they going, etc. Closeness gives a feeling of being present to those who look at your images. It brings you into the story and it can make you feel as if you where there alongside the photographer taking the shot.
However, use some common sense and don’t get into people’s personal space. Use your smile, talk to people, show them the images you’ve just made of themselves. It can go a long way
5. Use the right focal length
Again, there’s no specific rule for this. But if you want to be close to your subject and you want your image to have that natural eye feeling, then you should be shooting somewhere between 24mm and 50mm. These are the focals lengths that resemble the way the human eye perceives the world. The most commonly used focal lengths in street photography are 24mm, 27mm, 35mm and 50mm. The use of a fixed focal length will also teach you to perfect your craft with a particular lens. If you always use the same lens when you’re doing street photography, you’re not only improving your skills with said lens, you’re also creating a body of work that has the same “feel”.
6. Know your gear!
Know the sweet spots of your lenses—these ranges will produce your sharpest images. Know the metering modes of your camera and how to quickly set exposure compensation—this will allow you to flow with light changes. Be aware of which autofocus points are active as well as when and how to change them—this will ensure a higher amount of usable, in-focus images. Don’t be casual about learning to use your equipment. Study and practice are essential. This takes some time. Learn to embrace and enjoy the process of learning as you go. As Cartier-Bresson said, “Your first 10,000 shots are your worst.”
7. Develop your people skills !
It’s one thing to shoot incognito on the street and many photographers never approach their subjects. But, working a bit more closely with people will almost always result in images with greater emotional impact.
Let people see you as a participant rather than an observer. They know you’re there to take pictures. Do so politely and without obstructing the flow of life around you. You can interact with people without getting “in their faces.” Be friendly, be gracious and, when necessary, just walk away.
One of the best tools a photographer has is his/her smile. A good smile can be used to get permission for a shot as well as to make someone feel comfortable after they just noticed you took their photo. And if the situation (and your camera) allows, it’s always nice to show someone the photo you took. Almost 100% of the time, they will be amazed, suddenly seeing the image as a piece of art, rather than an intrusion.
8. Go Fishing
Many times on the street, great shots come to those who wait.
The tried and true method is to find yourself a great spot, perhaps with good leading lines, and get in position to frame it well. Then, settle in and wait for someone or something to become the subject(s) that the line leads to. You might even want to set your shutter to continuous mode and fire off a few frames to make sure you capture exactly the right moment.
This can be a fun and rewarding “fishing” game. It can also be boring and considered loitering, so don’t wait too long before you move on.

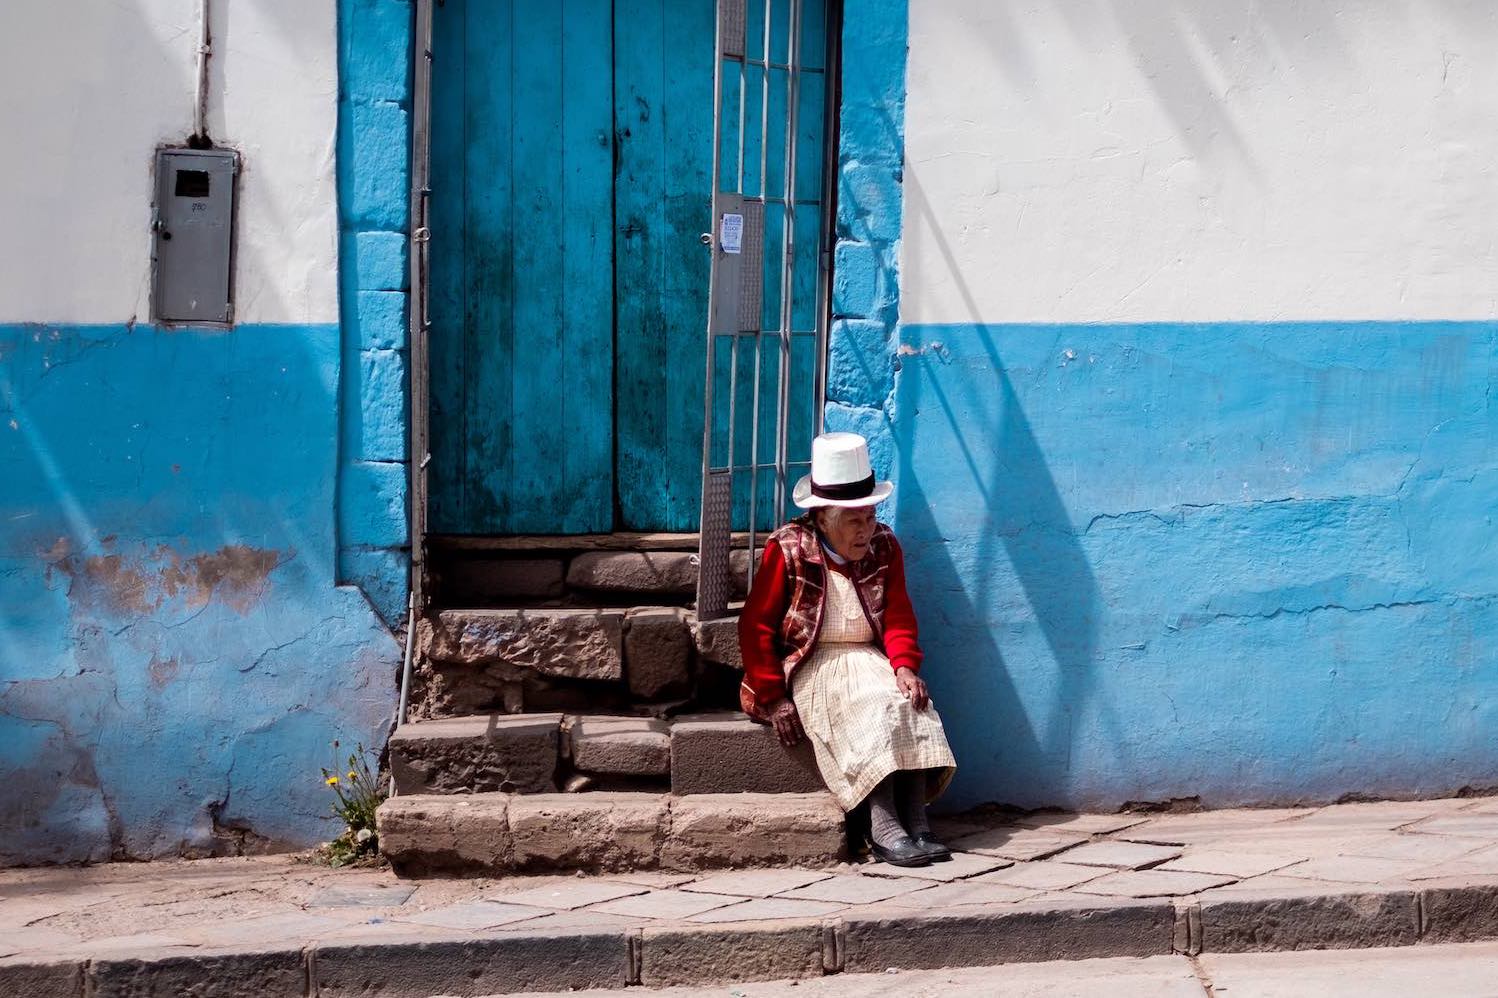
Shot during Cusco Photo Tour
9. Go Stalking
No, don’t do it like that! What we mean by stalking is – if you don’t find your environment interesting for a photograph, then make the subject interesting. You can either follow someone for a little bit until you’re environment is more pleasing, or simply approach a subject and nicely ask them if you can snap their picture. If something is missing in your image, it’s either environment or subject. We’re letting you know you should be stalking for either a better location, or a different subject.
10. Experiment with different perspectives
Remember to be aware of your surroundings. If you’re shooting a smaller person, try to get lower so you’re at their eye-level.
If there’s an interesting leading line on the floor, it might be interesting to get your camera all the way to the ground.
Different angles and perspectives can tell very different stories. Be aware of your surroundings and the available light.
We hope these where useful for you!
Cheers,
The Andean team


